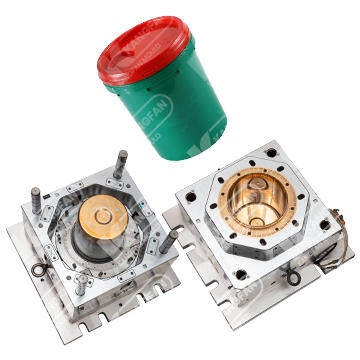
Printing ink barrels molds are designed using a process called injection molding, which involves creating a custom mold in the shape of the desired product, and then injecting molten plastic or other materials into the mold to create the final product.
Here are the basic steps involved in designing a printing ink barrels mold:


Design: The first step in creating a printing ink barrels mold is to design the mold itself. This involves creating a 3D model of the mold using computer-aided design (CAD) software. The design will need to include all the necessary features and details, such as the shape and size of the barrel, any text or logos that need to be printed on the barrel, and any other specific features required for the printing ink barrel.
Tooling: Once the mold design is complete, the next step is to create the tooling required to manufacture the mold. This involves creating a mold cavity and a mold core, which will be used to shape the molten plastic into the desired shape. The tooling will also include any necessary ejector pins, cooling channels, and other features required for the injection molding process.
Manufacture: The tooling is then used to create the actual printing ink barrels mold. The mold is typically made from high-quality steel, and is precision-machined to ensure that the final product is accurate and consistent.
Injection Molding: Once the mold is complete, it is loaded into an injection molding machine, along with the raw plastic material. The machine heats the plastic to its melting point and injects it into the mold cavity. Once the plastic has cooled and solidified, the mold is opened and the finished printing ink barrel is ejected.
The design of a printing ink barrels mold can vary depending on the specific requirements of the product, but these basic steps are typically involved in the process.

 中文简体
中文简体 English

.jpg?imageView2/2/format/jp2)


.jpg?imageView2/2/format/jp2)


